
Guided Implant Surgery: Key Steps with 2INGIS
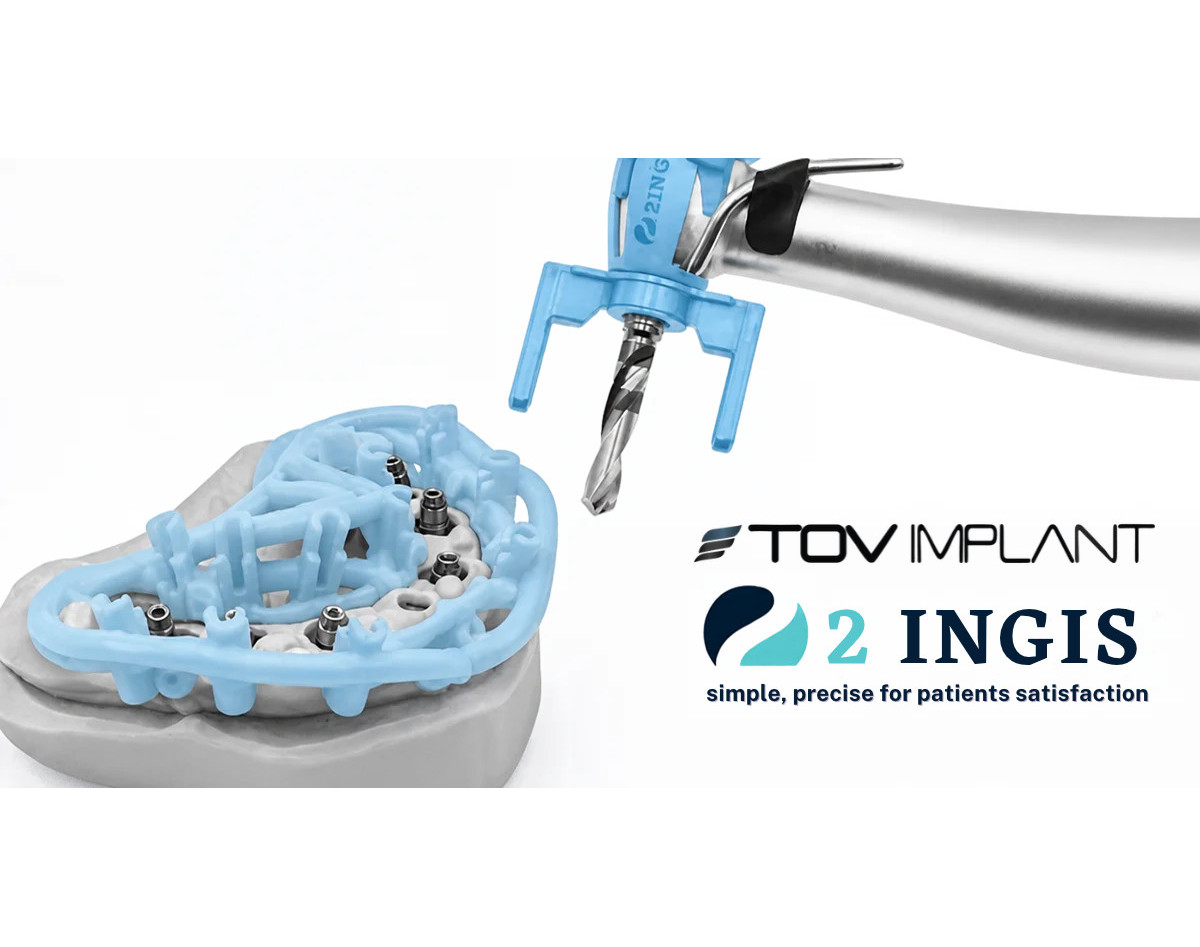
Discover the key steps of guided implant surgery with 2INGIS guides: imaging, planning, placement and follow-up.
Guided surgery changes how implants are placed. Instead of relying only on experience and imaging at the chair, the practitioner works from a plan validated in advance and from a guide that directs the drilling. This approach reduces margins of error and makes the procedure more predictable. Here are the key steps, from imaging to placement, with the 2INGIS approach.
1. Analyse the patient's imaging
Everything starts with 3D imaging, usually a scan or a CBCT, whose data is transferred in DICOM format. This analysis assesses the quantity and quality of bone, the position of sensitive anatomical structures, and the space available between neighbouring teeth.
STL files, which describe the surfaces of the mouth or of a model, can be combined with this data to refine the planning.
2. Plan the implant placement
Planning defines the axis, depth and diameter of each implant before the procedure. It checks the intended position against the available bone and any extractions to be carried out.
At 2INGIS, every plan is checked by the company before the guide is manufactured. DICOM and STL segmentations can also be produced to better visualise extractions and alveolar analysis.
3. Manufacture the individual surgical guide
The guide is made to measure for each patient, from the validated plan. It is 3D printed in metal or resin and delivered with a dedicated surgical protocol. It faithfully reproduces the planned position of the implants and guides the instruments during the procedure.
4. Carry out the procedure
On the day of placement, the guide is positioned on the teeth or the mucosa, depending on the clinical situation. The practitioner follows the protocol step by step, using standard surgical drills and instruments.
The 2INGIS guide has an open structure, giving a full view of the implant area. It is compatible with standard drills, reamers, expanders, osteotomes and implant drivers. Depending on the handpiece used, two types of legs are available: one allows anaesthesia of the site without removing the guide, the other allows irrigation of the site.
5. Check and follow up the result
After placement, the result is compared with the plan. Radiographic checks confirm the position of the implants and help plan the next steps of treatment, such as abutment placement or the prosthesis.
Key takeaways
- Guided surgery relies on a plan established before the procedure.
- The individual guide translates that plan into precise gestures at the chair.
- 2INGIS guides are compatible with standard instruments and fit into your usual protocol.
- The 2INGIS team can support the surgeon during planning and during the procedure.
Want to learn more about guided surgery? Our team answers your technical questions and points you to resources suited to your practice.
In Same Category
- Implant-Abutment Connection: Understanding Your Options
- Compatible Prosthetic Solutions: The Range That Completes Your TOV Implants
- The MAER Implant: A Spiral Design Built for Maximum Primary Stability
- The MAER implant: the spiral solution for maximum primary stability.
- TOV Implant Surgical Kit: Clinical Precision, Streamlined Performance
Comments
No comment at this time!
Leave your comment